From Idea to Widget — A Step-by-Step AI Walkthrough
Beyond Quick Links
In part one of this series , we built a Quick Links widget in 5 minutes. Nice, but let’s be honest: fairly simple. This time, we’re stepping it up.
We’re building a lunch menu widget — one that:
- Shows daily dishes with prices
- Flags allergens and veggie options
- Works just as well on mobile as on desktop
Step 1: Define What You Want
Before talking to the AI, take a moment to think: what exactly should this widget do? The more specific you are, the better the result.
Here’s our prompt:
“Create a lunch menu widget. It should show the weekly plan, Monday through Friday. Each day has 3 dishes: a main course, a vegetarian option, and a daily special. Each dish has a name, a price, and optional allergen icons (gluten, lactose, nuts). Today’s menu should be highlighted.”
Four sentences. But they cover everything:
- Structure: 5 days, 3 dishes per day
- Data: name, price, allergens
- Behavior: current day highlighted
Step 2: The AI Gets to Work
Once you send the prompt, here’s what happens:
The AI reads the documentation. It pulls up the Widget Builder guide and checks which template language (Handlebars), styling system (Tailwind CSS), and form field types are available.
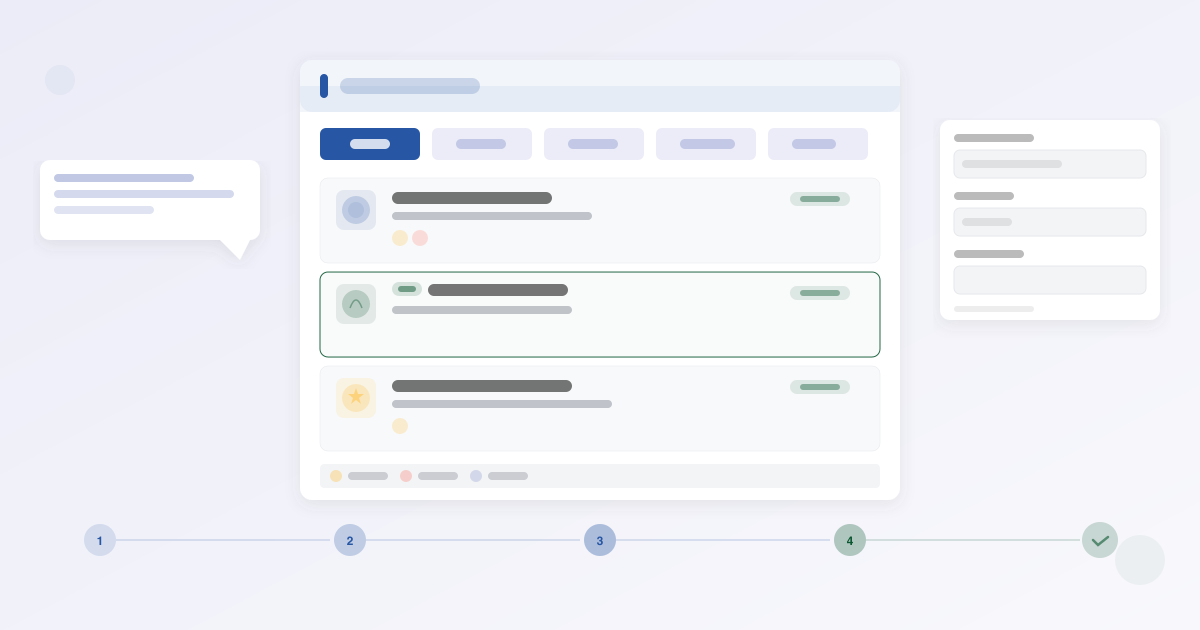
The AI builds the template. It creates a responsive layout with tabs or a card view for each weekday. Today’s menu gets highlighted automatically.
The AI test-renders. Before creating the widget, it renders the template with sample data to make sure everything looks right.
The whole thing takes a few seconds. Then the widget is in your account.
Step 3: Review the Result
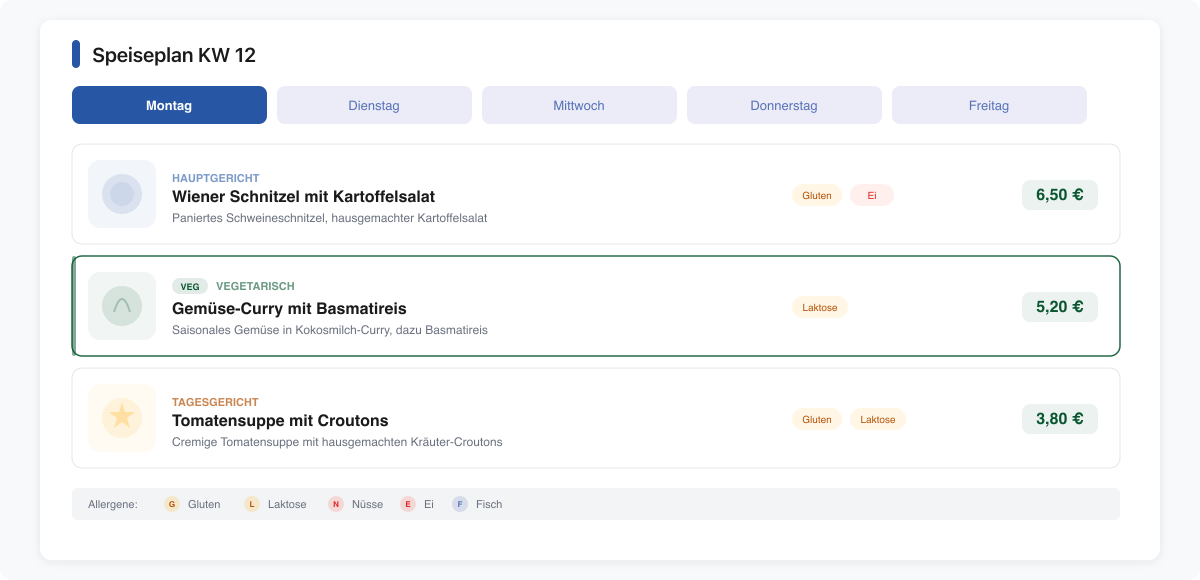
What you get:
- Weekday tabs — Monday through Friday, today highlighted in blue
- Three dishes per day — with price and allergen icons
- Responsive — on mobile, dishes stack vertically
- Clean design — fits right into the rest of your intranet
Step 4: Tweak and Refine
Maybe it’s not perfect on the first try. No problem.
“Show the allergens as small colored icons instead of text. And add a legend below the widget explaining what the icons mean.”
Or:
“Prices should be right-aligned. And the vegetarian dish should have a green border.”
The AI updates the widget and shows you the result. You don’t start from scratch — it always works with the existing widget.
Step 5: Updating — Just as Easy
New menu next week? No problem. Open your AI assistant again and say:
“Update the lunch menu. Monday: currywurst (€5.50), vegetable lasagna (€4.80), goulash soup (€3.50). Tuesday: …”
The AI updates the existing widget — no need to create a new one. And if the structure changes (e.g., a fourth dish per day), just mention it.
What We Learned
Three takeaways from this walkthrough:
1. Specific prompt = better result. The more precisely you describe what you need, the fewer correction rounds. “3 dishes per day with price and allergens” beats “a lunch menu widget.”
2. Iteration is normal. The first result is rarely perfect. But fixing it is a one-liner: “Make the prices right-aligned.” That’s faster than any IT ticket.
3. Updating is just as easy as creating. You don’t have to rebuild the widget each time. Tell the AI what changed, and it updates the existing widget.
What’s Next
You’ve now seen how a Quick Links widget and a lunch menu widget get built. In part three , we’ll show you 5 more widget ideas with ready-to-use prompts.
Or jump right in: Try Widget Builder →